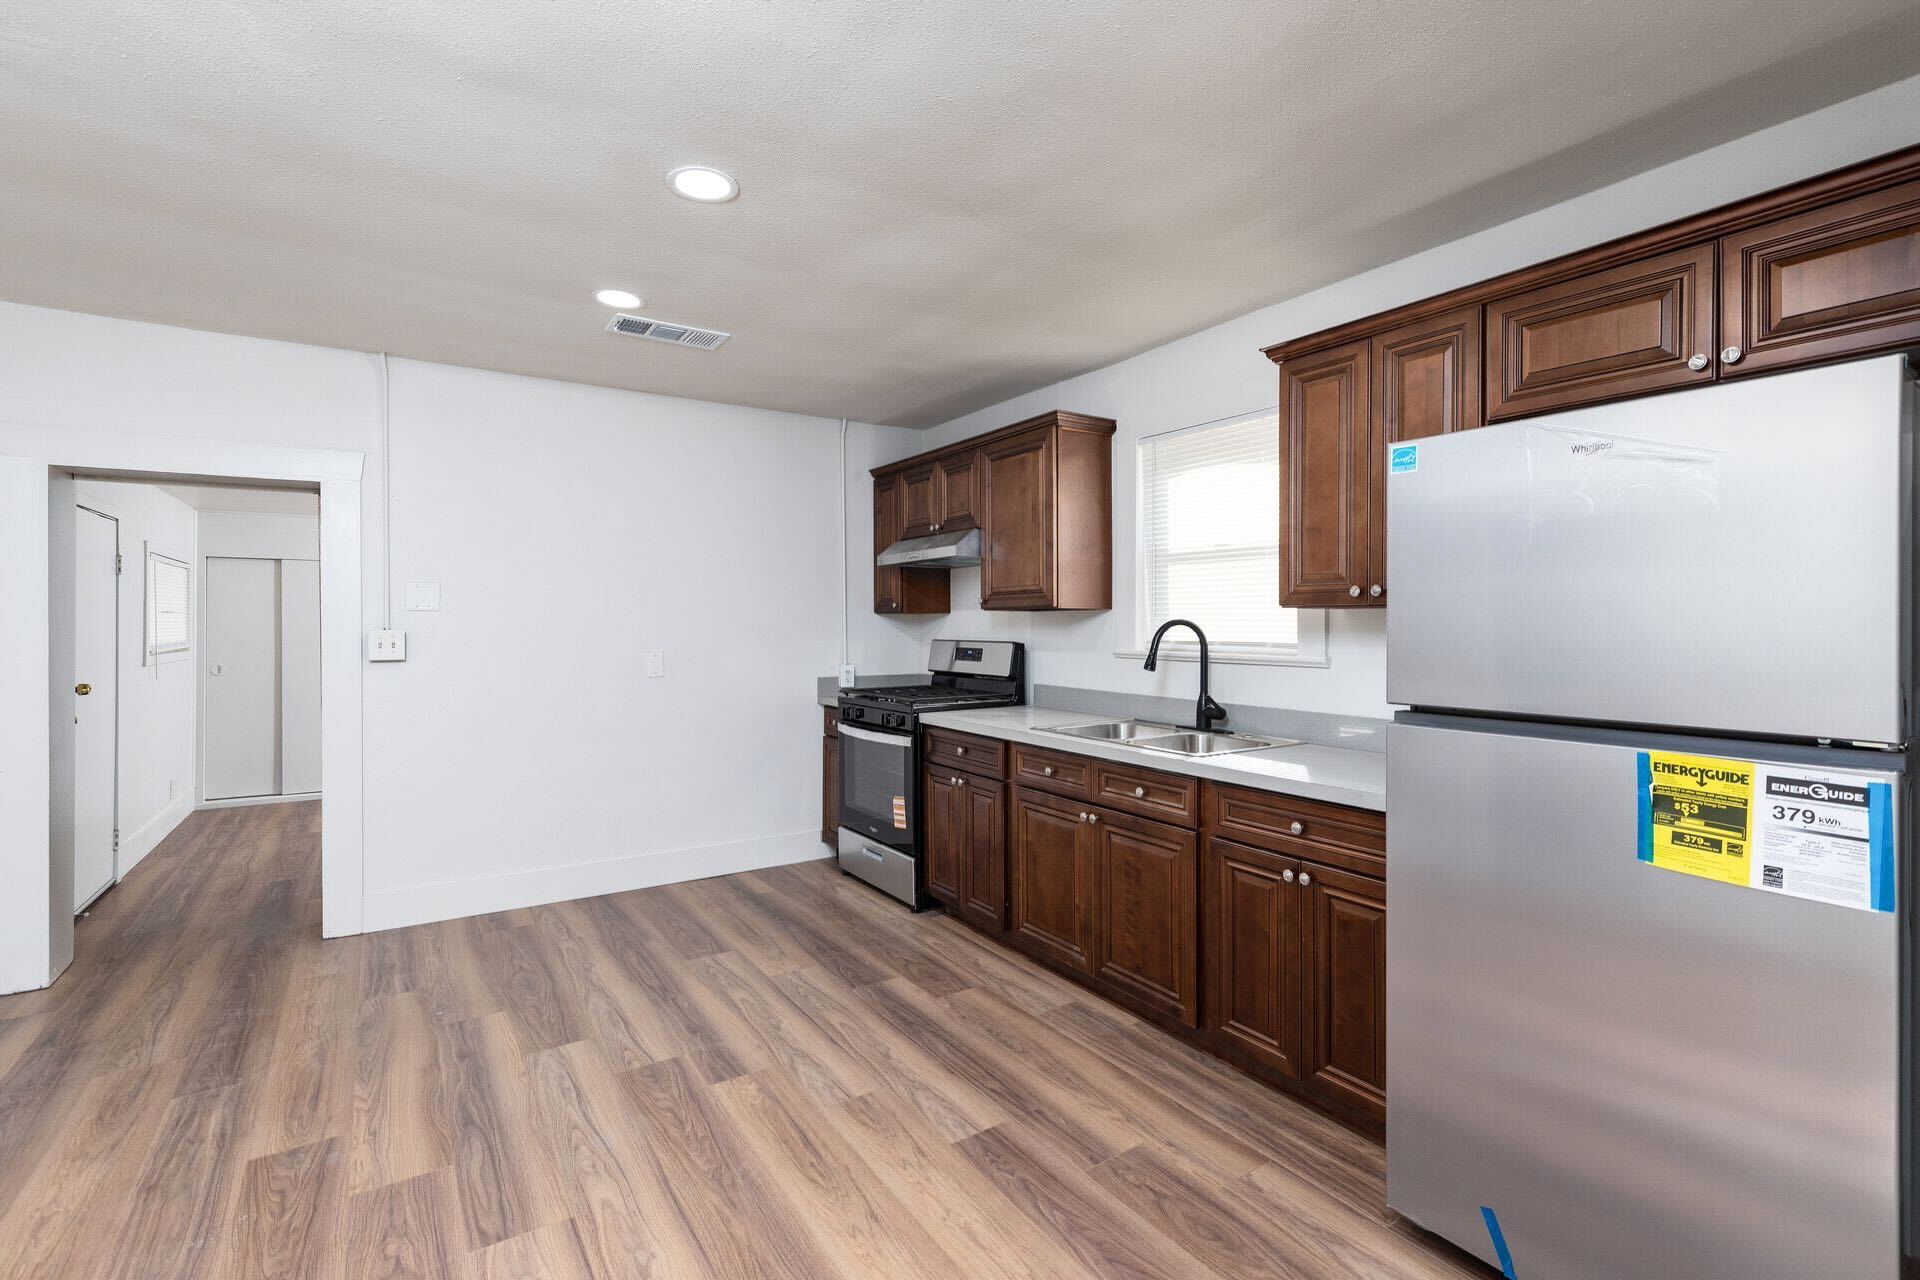
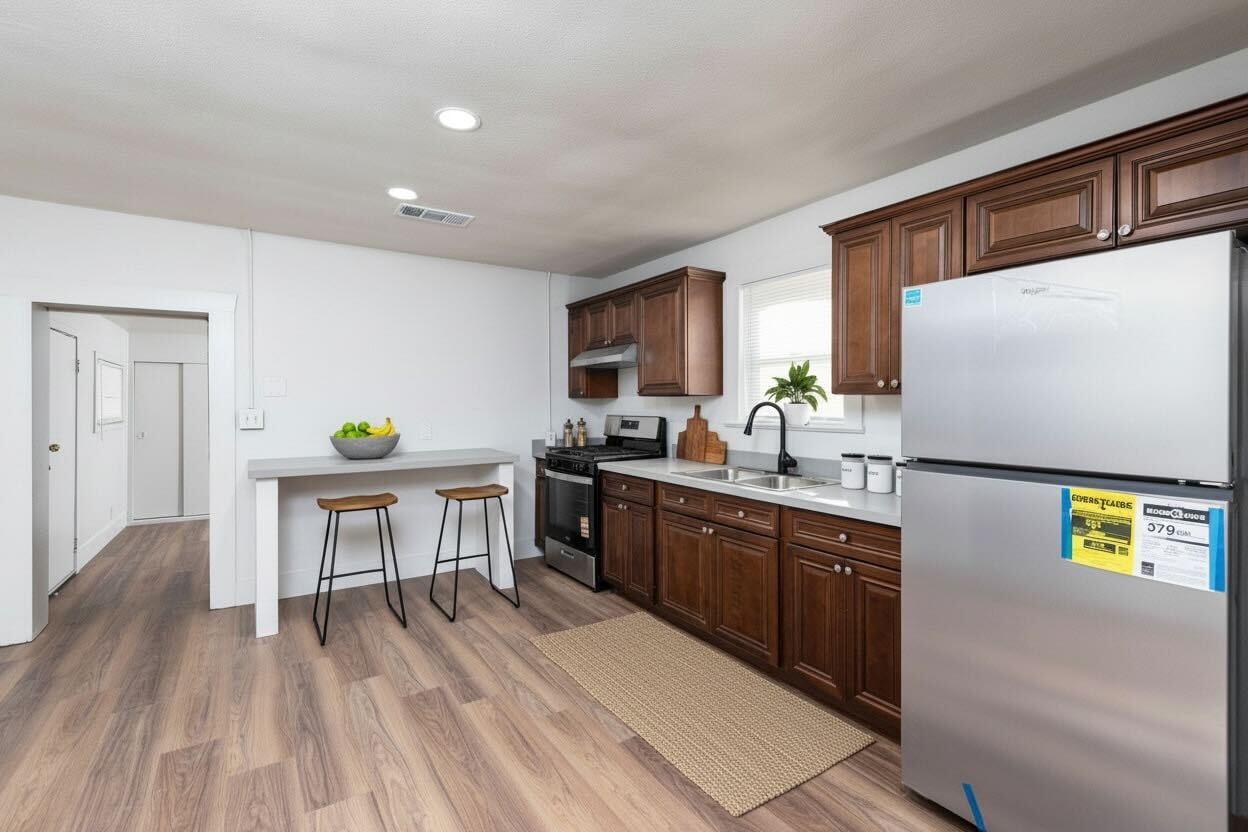
Get the light right before you shoot anything
Light makes or breaks a real estate photo. The most common mistake agents make is shooting into a window — the camera exposes for the bright glass and the room goes dark. Turn around or step to the side so the window is behind you or off to one angle, and the room fills in.
A few rules that work in almost every room:
- Turn on every light in the room — overheads, lamps, under-cabinet, all of it. Warm interior light plus daylight reads as 'cozy and lived-in.'
- Open the blinds and curtains all the way to let natural light do the heavy lifting.
- Shoot during the day when rooms are naturally brighter. Mid-morning and late afternoon are kind to most interiors.
- Avoid the on-phone flash. It flattens the room, throws hard shadows, and makes everything look like an insurance photo.
Frame the room so it feels bigger
Buyers scroll fast. A photo that shows the whole room — and how rooms connect — keeps them looking. Stand in a corner or doorway and shoot toward the opposite corner. That diagonal line through the space makes a room feel larger than a flat, straight-on wall shot ever will.
Hold your phone horizontally (landscape), not vertically. Listing galleries and the MLS are built for wide images, and a vertical photo crops out half the room.
Get the height right, too. Shoot from about chest height — roughly four feet off the floor. Phone-at-eye-level shots tilt the ceiling and shrink the floor; chest height keeps walls straight and shows off the floor space buyers care about.
Keep your lines straight
Crooked photos look amateur even when nothing else is wrong. The fastest fix is keeping your phone level so vertical lines — door frames, wall corners, cabinets — stay vertical instead of leaning in or out.
Turn on your phone's grid lines (Settings > Camera on most phones). Line up a wall edge or the floor line with the grid and your shots instantly look more professional. Tap the screen to lock focus and exposure on the part of the room you want sharp and bright.
What to avoid
A clean shot starts before you raise the phone. The biggest sale-killers aren't camera settings — they're what's in the frame.
- Clutter: clear countertops, hide the trash can, pull cords out of sight, and put away personal photos and pet bowls.
- You in the mirror: watch bathroom and bedroom mirrors so you're not standing in the reflection.
- Toilet lids up: close lids and tidy the bathroom before shooting.
- Ultra-wide distortion: zooming all the way out on the widest lens bends walls and stretches rooms unnaturally. Pull back a step instead of cranking the wide angle.
- Dark, muddy exposures: if the room looks dim through the screen, it'll look worse in the listing. Bright and true beats moody every time.
Then enhance it in under 60 seconds with Better Listed
Even with great habits, a phone photo rarely comes out perfectly balanced. The light is a little uneven, the whites lean yellow, the windows blow out, the shadows go flat. That's exactly the gap Better Listed closes.
Upload your phone photo and Better Listed improves the light, color, and clarity — true to the property — in under 60 seconds per photo. It brightens dim rooms, balances color so whites look white, and sharpens detail, without fabricating or misrepresenting what the home actually looks like. No editing skills, no software, no learning curve. It works straight from a normal phone photo.
Because enhancement only adjusts how the photo is captured — not what the property is — enhanced images stay label-free. And your originals are always preserved, so you can download them side-by-side for the MLS whenever you need them.
One subscription replaces hiring a photographer and a stager: $50/month for unlimited enhancement and virtual staging, up to 100 photos per cycle. Brighter, cleaner photos mean more clicks, more showings, and faster offers. You can fix your first photo free — no credit card, no account — and see the difference before you decide anything.
Got a vacant room to fill? Virtual staging drops tasteful, realistic furniture into the actual space (with MLS disclosure labels added automatically).